
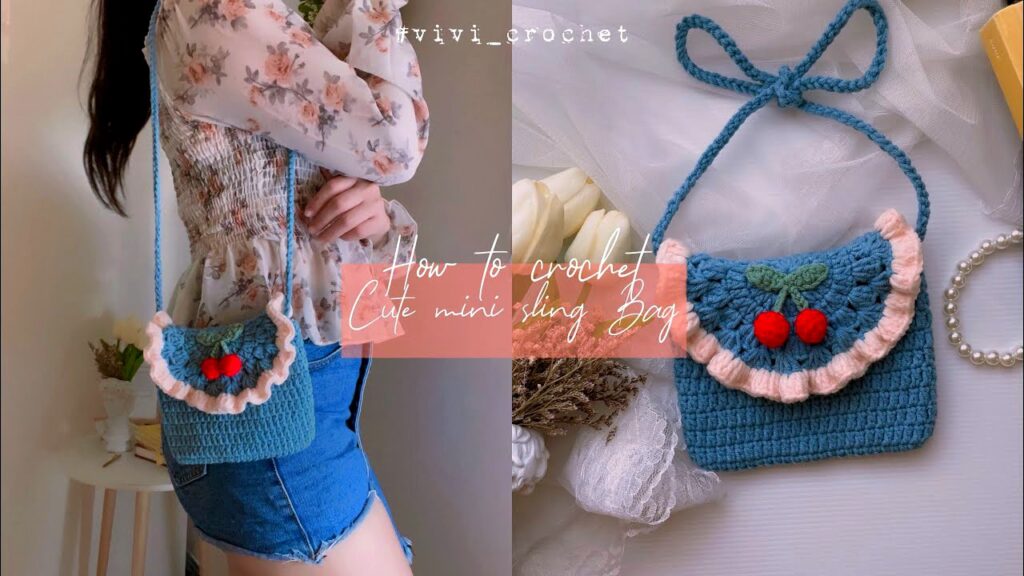
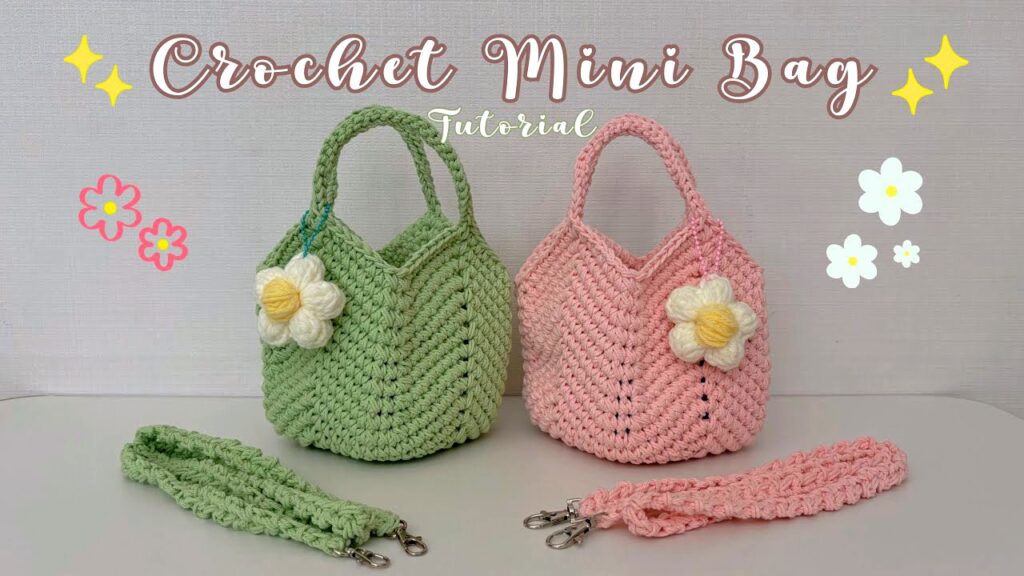
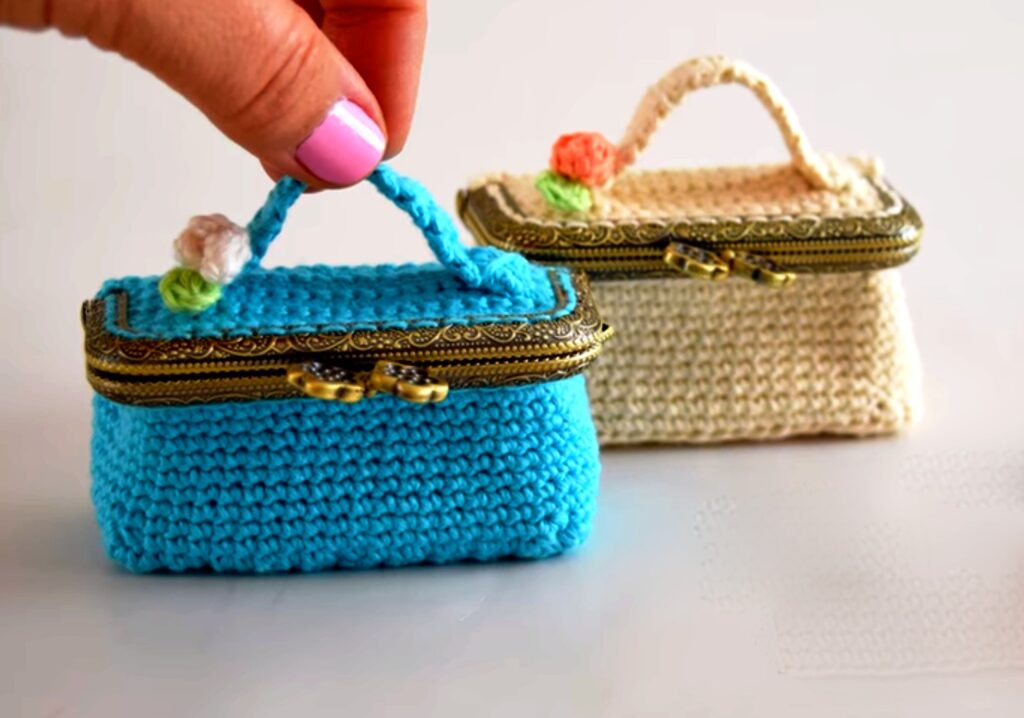
This adorable mini bag is perfect for carrying small essentials—keys, cards, lip balm, or even as a gift pouch. It’s beginner-friendly and makes a fun, quick project. You can customize the size, strap length, and colors easily.
✨ Project Overview
-
Skill Level: Easy
-
Time Required: 1.5 to 2 hours
-
Bag Dimensions: Approx. 5” wide x 6” tall (without strap)
-
Uses: Mini purse, coin pouch, small crossbody bag, gift bag
🧺 Materials You’ll Need:
-
Worsted weight cotton yarn – about 50g or less (any color of your choice)
Tip: Cotton yarn gives it a firm structure, but you can use acrylic for a softer feel. -
4.0 mm crochet hook (G-6)
-
Yarn needle – for weaving in ends
-
Scissors
-
Stitch marker (optional but helpful for marking rounds)
-
Button or magnetic snap (optional, if you want a closure)
🧵 Crochet Stitches & Abbreviations (US Terms)
| Abbreviation | Stitch Name |
|---|---|
| ch | Chain |
| sc | Single Crochet |
| hdc | Half Double Crochet |
| sl st | Slip Stitch |
| st(s) | Stitch(es) |
| inc | Increase (2 sc in 1 stitch) |
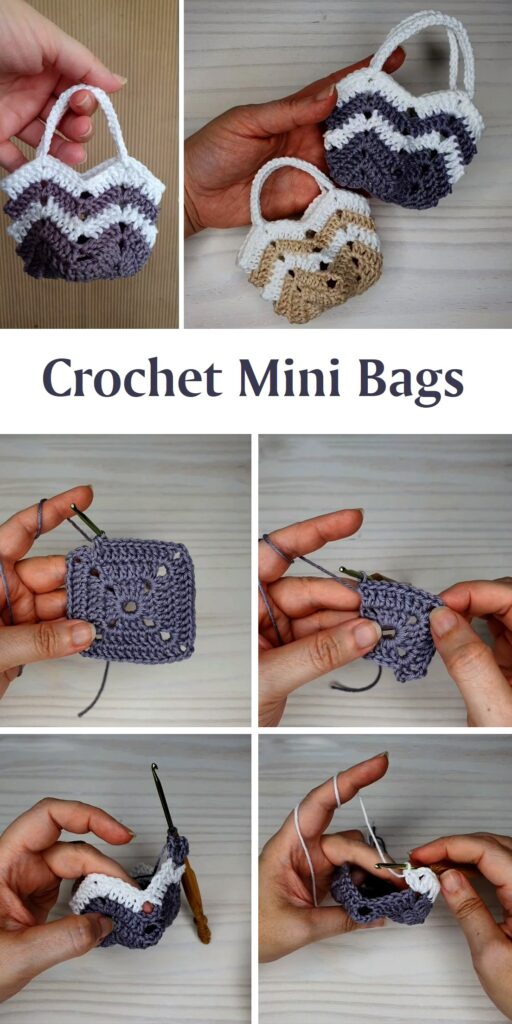
🪡 Let’s Begin!

📌 Step 1: Make the Foundation Base
We’ll begin by crocheting an oval base for the bag. This base is created by crocheting around both sides of a foundation chain.
-
Ch 21 – This is the length of the base of your bag. You can adjust it if you want a wider or narrower bag.
-
In the 2nd ch from the hook, make 1 sc.
-
Sc in the next 18 chains (you should now be at the last chain).
In the last chain, work 3 sc – this allows you to turn and continue on the opposite side. -
Now crochet along the bottom side of the chain, working into the unused loops.
Sc in the next 18 chains. In the last chain, work 2 sc to complete the oval.
You should have a total of 42 stitches around.
👉 Do not join. From here, you will work in a continuous spiral to create the body of the bag.
Use a stitch marker to mark the beginning of each round if you’d like.
👜 Step 2: Crochet the Body of the Bag
Now we’ll work the body of the bag in continuous rounds using single crochet stitches.
-
Rounds 2–18:
-
Sc in each st around (42 sts per round).
-
Continue working in a spiral. No increases or decreases are needed here.
-
You should start seeing the bag grow upward like a tube or cylinder.
-
📏 At the end of Round 18, your bag should be about 6 inches tall. You can stop earlier or add more rounds if you want a different height.
✨ Optional: Add a Decorative Edge
To give the top edge a slightly polished finish, let’s switch to half double crochet for one final round.
-
Round 19 (optional):
-
Work hdc in each stitch around.
-
At the end of the round, sl st to the next stitch to join.
-
Fasten off and weave in the end using your yarn needle.
-
Now the main body of your bag is complete!
🎀 Step 3: Add a Strap
You can make the strap as long or as short as you want—either a short handle or a crossbody style.
-
Ch 100 to 130 (depending on desired strap length).
-
In the 2nd ch from the hook, sc in each chain across.
-
Fasten off and leave a long tail for sewing.
-
Use your yarn needle to securely sew each end of the strap to the inside of the bag (on opposite sides, near the top edge). Reinforce with extra stitches for durability.
✅ Make sure the strap isn’t twisted before sewing both ends.
🧷 Step 4: Optional Closure
If you’d like to add a button or snap for closure, here’s how to do it:
Option A – Button & Loop
-
Sew a button onto the front center of the bag (about 1″ below the edge).
-
On the back of the bag, attach a loop:
-
Join yarn at the center back top edge.
-
Chain 10–15 (enough to loop around the button).
-
Sl st back into the same st. Fasten off and weave in ends.
-
Option B – Magnetic Snap
-
Hand-sew a small magnetic snap to the inside of the front and back flaps.
💡 Customization Tips
-
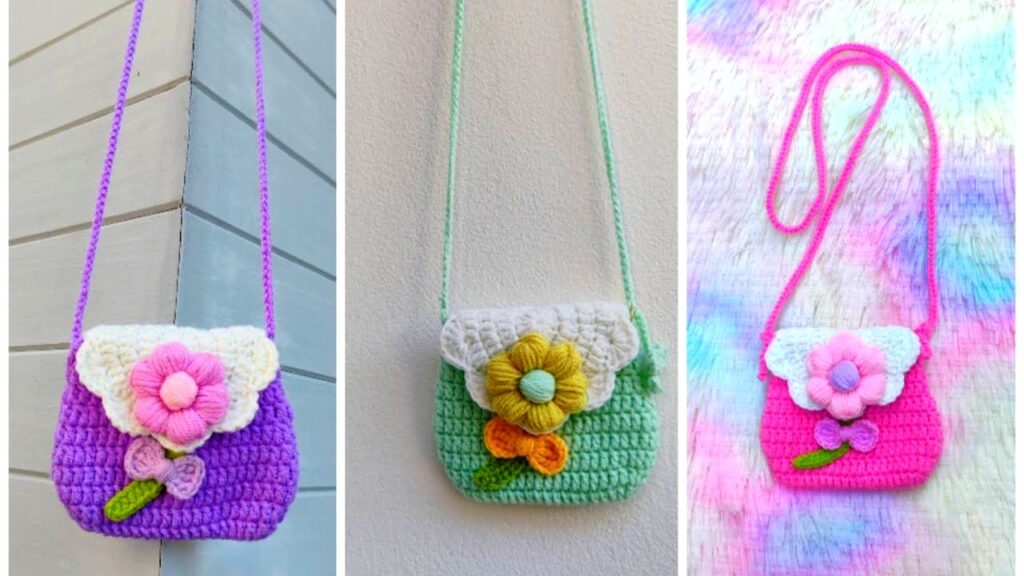
🎨 Change colors: Try stripes or color blocking by switching yarn colors between rounds.
-
🌈 Use variegated yarn: Creates a playful pattern without changing colors manually.
-
🧵 Add lining: For extra structure, sew a fabric lining inside before attaching the strap.
-
✨ Add embellishments: Buttons, beads, tassels, or even embroidery can make it unique.
🧼 Care Instructions
To keep your mini bag clean and in shape:
-
Hand wash with cool water and gentle soap.
-
Do not write. Gently press water out with a towel.
-
Lay flat to dry, shaping the bag as it dries.
💖 Done!
Congratulations—you’ve made a Cute Crochet Mini Bag! 🎉 It’s the perfect accessory for light carrying or a thoughtful handmade gift. Make several in different colors for any occasion.
Certainly! Here are some YouTube tutorials that guide you through creating a cute crochet mini bag:
Videos Tutorials 👇👇👇
-
How To Crochet Mini Bag | Cute Crochet Bag
This tutorial by Vii Crochet provides a step-by-step guide to making a charming mini bag. It’s suitable for beginners and includes clear instructions. You can watch it here:
-
Crochet Mini Bag for Beginners
This video offers a beginner-friendly approach to crocheting a mini bag, using polypropylene rope for added durability. It’s ideal for those new to crochet. By Chompu Handicrafts channel. Check it out here: -
Crochet Mini Bag with Spike Stitch
This tutorial teaches you how to create a mini bag using the spike stitch for a more decorative design. It’s a great way to add texture to your project by the MirrymasCrafts channel. Watch it here:
Feel free to choose the tutorial that best matches your skill level and design preferences. If you need further assistance or have any questions, don’t hesitate to ask!