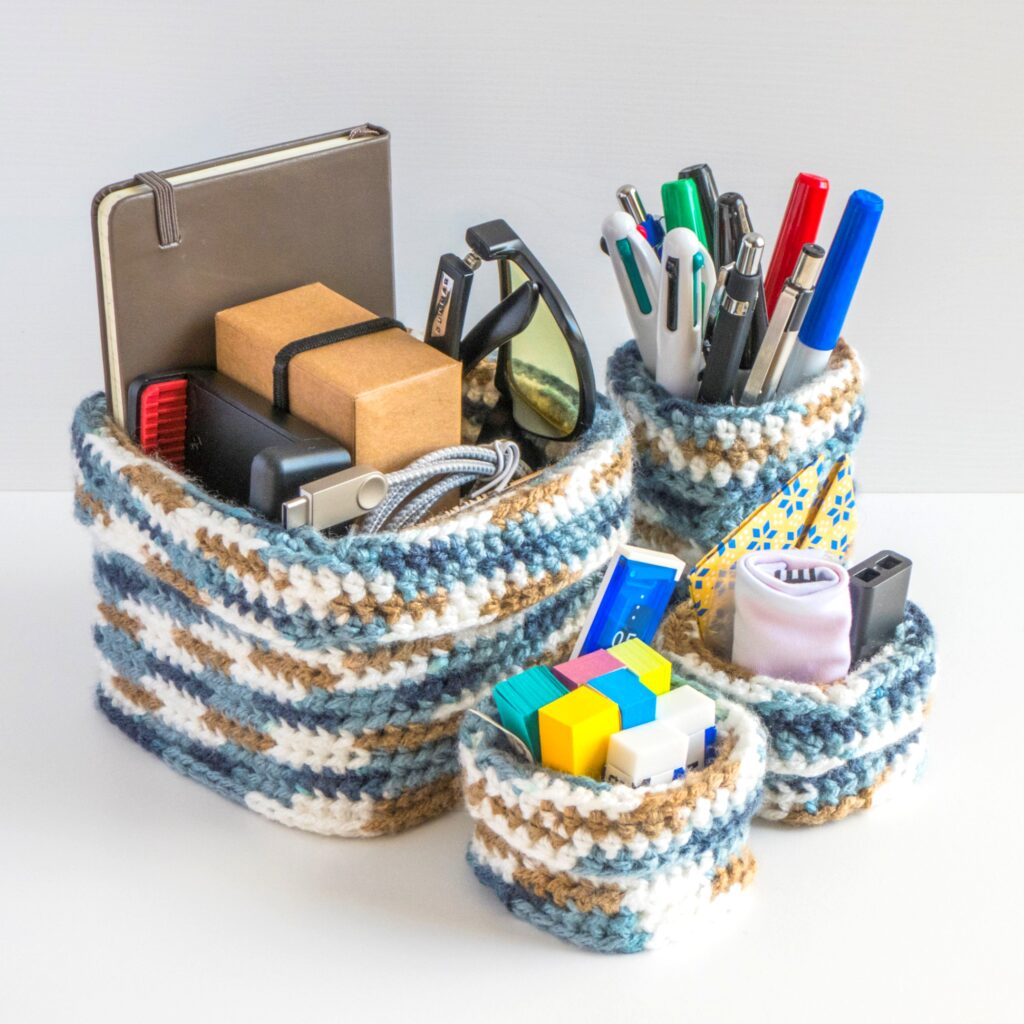
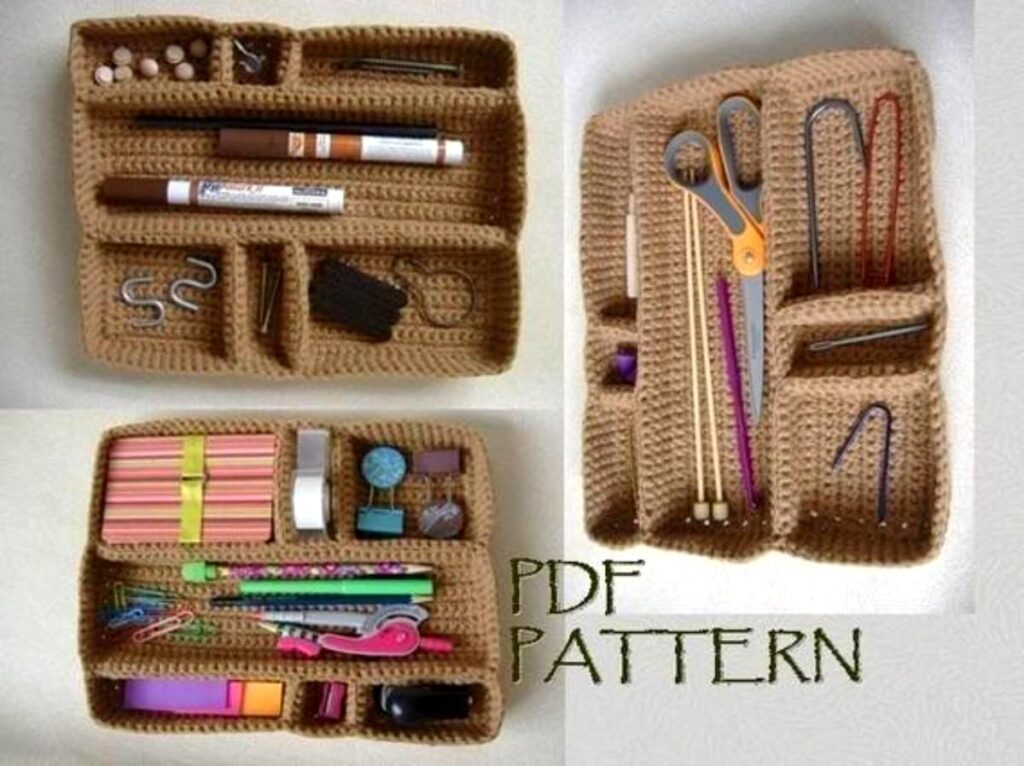
Keeping your desk neat and organized can be challenging, but this crochet desk organizer is a stylish and practical solution! This project is perfect for storing pens, scissors, sticky notes, and other small office essentials. You can customize the size, shape, and number of compartments based on your needs.
This pattern includes instructions for creating a sturdy base, side panels, and pockets to keep everything in place.
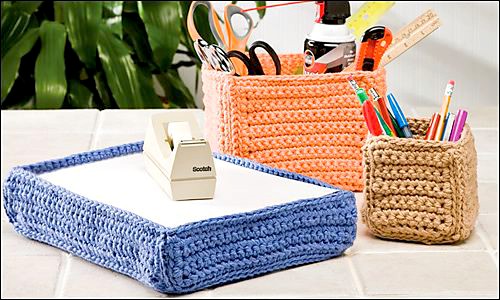
Materials Needed:
✔ Yarn: Worsted weight cotton yarn (any color of choice; cotton yarn is best for durability)
✔ Crochet Hook: 5mm (H) or suitable for your yarn
✔ Yarn Needle: For sewing and weaving in ends
✔ Scissors: For cutting yarn
✔ Cardboard or Plastic Canvas (optional): To add structure and sturdiness to the organizer
✔ Buttons or Embellishments (optional): For decoration
✔ Stitch Markers (optional): To help keep track of rounds
Stitches & Abbreviations (US Terms):
- Ch – Chain
- Sc – Single Crochet
- Hdc – Half Double Crochet
- Dc – Double Crochet
- Sl st – Slip Stitch
- Inc – Increase (2 sc in one stitch)
- Dec – Decrease (sc two stitches together)
Finished Size (Adjustable)
- The base of the organizer will be 8 inches (20 cm) wide and 4 inches (10 cm) deep.
- The sides will be 5-6 inches (12-15 cm) tall.
- You can adjust the size by increasing or decreasing the number of stitches and rows.
Step-by-Step Instructions
Step 1: Crochet the Base (Rectangle Bottom)
The base determines the overall size of your desk organizer.
- Ch 26 (or more, depending on your desired width).
- Row 1: Sc in the second ch from hook and across. (25 sc)
- Row 2-15: Ch 1, turn, sc in each stitch across.
- Continue working rows until the piece measures 8 inches (20 cm) wide and 4 inches (10 cm) deep.
- Fasten off and weave in ends.
Tip: If you want a very sturdy bottom, you can cut a piece of cardboard or plastic canvas in the same size and place it inside before attaching the sides.
Step 2: Create the Side Panels
We will now crochet directly around the base to form the side walls of the organizer.
- Attach yarn to any corner of the rectangle base with a slip stitch.
- Work sc stitches evenly around all four edges of the base (this creates a foundation for the sides).
- Join with a sl st to the first sc and ch 1.
- Rounds 1-20: Sc in each stitch around, working in continuous rounds to create height.
- Keep going until the sides measure 5 inches (12 cm) tall.
- If you want taller walls, continue crocheting until the desired height is reached.
Tip: For a sturdier shape, insert cardboard or plastic canvas inside before fastening off.
Step 3: Make & Attach Pockets
Now, we’ll create front and side pockets for extra storage.
Front Pocket (Large Pocket for Notebooks, Sticky Notes, or Phones)
- Ch 20 (or match the width of the organizer).
- Row 1: Sc in the second ch from hook and across.
- Row 2-10: Ch 1, turn, sc in each stitch across.
- Fasten off and leave a long tail for sewing.
- Attach to the front panel of the organizer, sewing along three sides (left, right, and bottom), leaving the top open.
Tip: You can add multiple rows of pockets by making smaller ones and attaching them on top of the first pocket.
Side Pockets (For Pens, Scissors, or Small Tools)
- Ch 10 (or match the width of the side).
- Row 1: Sc in the second ch from hook and across.
- Row 2-8: Ch 1, turn, sc in each stitch across.
- Fasten off and sew the pocket to the side panels, leaving the top open.
Variation: If you need divided sections, sew vertical lines on the pocket to create smaller compartments.
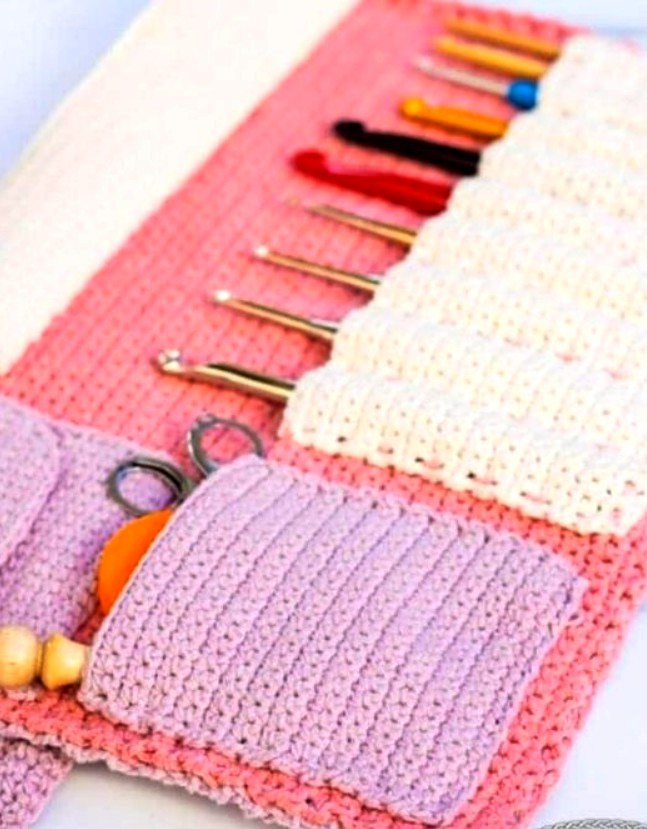
Step 4: Finishing Touches & Customization
✅ Edge Reinforcement: If you want a sturdy rim, work a round of HDC or DC stitches around the top edge of the organizer.
✅ Handles (Optional): If you want to carry the organizer, crochet two small straps and attach them to the sides.
✅ Decorative Touches: Add buttons, appliques, or embroidery for a unique look.
✅ Hanging Version: If you want to mount it on a wall, attach loops or hangers at the back.
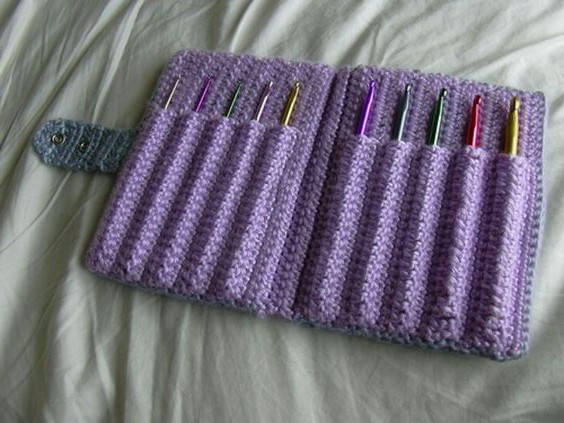
Customization Ideas
🔹 Color Blocking: Use different yarn colors for the pockets and base for a vibrant design.
🔹 Larger Organizer: Increase the width and height to create a storage box for larger items.
🔹 Lid or Cover: Add a fold-over flap with a button closure for a covered organizer.
Final Thoughts
Your crochet desk organizer is now ready to keep your workspace neat and stylish! This project is simple, useful, and highly customizable. Whether you make it for yourself or as a handmade gift, it’s a great way to stay organized.


