Skill Level: Advanced Beginner to Intermediate
Time Estimate: 6–8 hours (depending on speed)
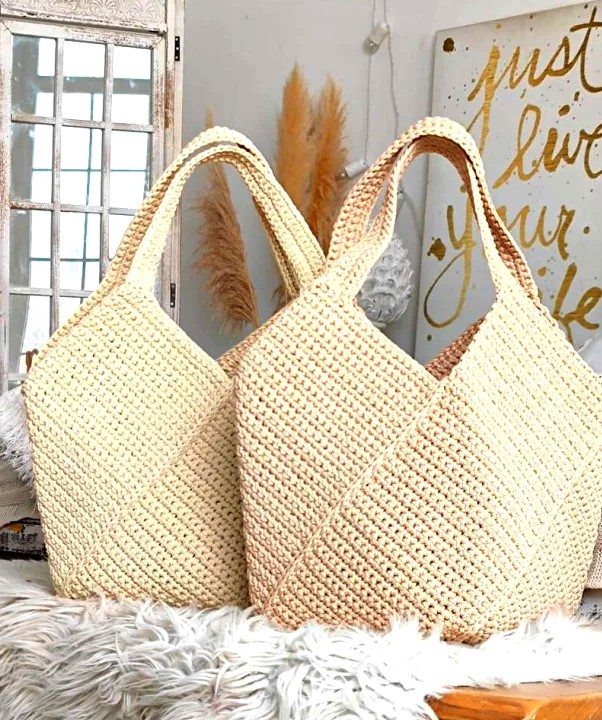
Finished Dimensions: Approx. 16″ wide x 14″ tall, 4″ depth at base (customisable)
Materials Needed
-
3 skeins of worsted weight (Category 4) 100% cotton yarn (approx. 600–700 yards total)
-
5.0mm (H-8) and 6.0mm (J-10) crochet hooks
-
Tapestry needle for weaving in ends
-
Stitch markers
-
Scissors
-
Optional: Fabric for lining, magnetic snap, or button for closure
Stitches Used (US Terminology)
-
ch – chain
-
sc – single crochet
-
dc – double crochet
-
hdc – half double crochet
-
sl st – slip stitch
-
st(s) – stitch(es)
-
rep – repeat
Part 1: The Flat Oval Base
This gives the bag stability. We’ll be working in the round, increasing at both ends.
-
With 5.0mm hook, ch 25 (this forms the foundation chain)
-
Round 1:
Sc in the second ch from the hook and in the next 22 sts. In the last chain, work 3 sc (this turns the corner).
Now, working down the other side of the chain, Sc in the next 22 sts, then work 2 sc into the last ch (this joins with the first sc of the round).
Join with a sl st to first sc.
(Total: 50 sts) -
Round 2:
Ch 1. Sc in next 22 sts. 2 sc in each of next 3 sts (the rounded end).
Sc in next 22 sts. 2 sc in each of next 3 sts. Sl st to join. (Total: 56 sts) -
Round 3:
Ch 1. Sc in next 22 sts. (Sc in next st, 2 sc in next st) x3.
Sc in next 22 sts. (Sc in next st, 2 sc in next st) x3. Sl st to join. (Total: 62 sts) -
Continue this method until your base measures about 4″ wide and 16″ long. You can add extra rounds if needed, always increasing symmetrically at both ends.
Part 2: Body of the Bag
Switch to a 6.0mm hook for a slightly looser fabric that’s more flexible.
-
Ch 2 (does not count as a stitch). Hdc in each stitch around. Sl st to join.
This round creates a slight wall to transition from the base to the body. -
Next round: Ch 3 (counts as first dc). DC in each stitch around. Sl st to top of ch-3.
-
Repeat the DC round for a total of 28–32 rounds, depending on how tall you want your bag.
(Feel free to change colours every 3–4 rounds for a striped effect.) -
For a more open, airy mesh style (great for beach sand and ventilation):
Alternate rounds of dc, ch 1, skip 1 to create a mesh pattern, then switch back to solid dc every 4–5 rounds for structure.
Part 3: Top Edge and Handle Shaping
-
After the final DC round, switch back to a 5.0mm hook. Work 1 round of sc evenly around to neaten the top edge.
-
Use stitch markers to mark the points where you want the handles—ideally spaced 5–6″ apart on each side, directly across from each other.
-
From the marked stitch, ch 70 (for long shoulder straps—adjust if needed). Attach the chain to the opposite marked stitch with a sl st.
Repeat for the second handle on the other side. -
Next round: Sc in each stitch and into each chain of the handle. This solidifies the handles.
-
Optional: Work a second round of sc to strengthen the handle. You can even add a third round with a slip stitch edging for durability.
Finishing Touches
-
Weave in all loose ends using your tapestry needle.
-
Optional Lining: Cut and sew a fabric lining (cotton canvas or waterproof polyester is are good option). Hand-stitch it in place with strong thread for a polished look.
-
Add a magnetic snap or button at the top centre if you want closure.
-
Want pockets? Stitch on a small patch pocket inside or outside before assembling the lining.
FREE PATTERN HERE
Tips & Notes
-
Cotton yarn is ideal for durability, but it can stretch. If you’re carrying heavier items (e.g., water bottles, towels), reinforce the base and handle seams.
-
If you’re not a fan of sewing, skip the lining and use a tighter stitch pattern like hdc or sc throughout the body to make it denser.
-
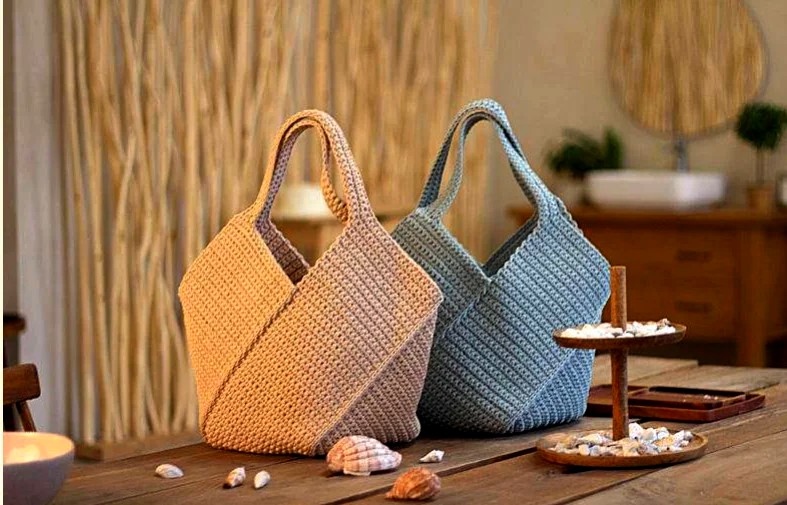
For a holiday vibe, consider using pastel or nautical colours—think seafoam green, coral pink, sand beige, or navy blue.
That’s the full walk-through! You’ll end up with a roomy, stylish, and reusable bag that’s perfect for beach days, markets, or just pretending you’re on holiday when you’re off to the shops.
Would you like a printable PDF version of this, or maybe a photo reference to help you visualise the final piece?