How to Crochet a Baby Hoodie – A Thoughtful Handmade Gift
There is something truly special about gifting a handmade crochet item, especially for a baby. A crochet baby hoodie is not only a warm and cosy garment but also a keepsake that parents will cherish. Whether you’re an experienced crocheter or a beginner looking for a manageable project, this guide will help you create a beautiful and practical baby hoodie.
This pattern is suitable for a 0–6 months baby size, but you can adjust the measurements to fit older infants. The design is simple, consisting of a body panel, sleeves, and a hood, all worked separately and then stitched together. If you’re comfortable with basic stitches like chain (ch), single crochet (SC), half double crochet (HDC), and double crochet (DC), you’ll find this project enjoyable and easy to follow.

Materials Needed
Before starting, gather the following supplies:
- Yarn: Choose a soft, baby-friendly yarn. Cotton or acrylic blends are best because they are gentle on the skin and easy to wash. DK (Double Knit) or worsted weight yarn is recommended.
- Crochet hook: Use a hook that matches your yarn weight, typically 4mm–5mm. Always check the yarn label for guidance.
- Stitch markers: These help mark important points like armholes and hood shaping.
- Scissors: A sharp pair for cutting yarn.
- Tapestry needle: For weaving in ends and sewing parts together.
- Buttons (optional): If you want to add a buttoned closure to the front.
- Measuring tape: To ensure accurate sizing.
Step-by-Step Crochet Baby Hoodie Pattern
Step 1: Crochet the Body Panel
The body panel is worked as a rectangle, which is later folded to form the front and back of the hoodie.
Instructions:
-
Foundation Chain:
- Chain 40–50 stitches (or any multiple that matches the width you need for the hoodie).
- The width should be around 9–10 inches for a 0–6 month baby size. Adjust for larger sizes if needed.
-
Work the Body Rows:
- Starting in the second chain from the hook, work half double crochet (HDC) stitches in each stitch across the row.
- Turn your work and repeat HDC rows until the piece measures 10 inches in height.
-
Shape the Armholes:
- Fold the panel in half to create a front and back.
- Leave about 4 inches on each side for armholes and mark with stitch markers.
Step 2: Crochet the Sleeves
The sleeves are worked in rounds directly from the armholes to give a seamless finish.
Instructions:
-
Attach Yarn at the Armhole:
- Join your yarn at one of the armholes using a slip stitch.
-
Crochet in Rounds:
- Work HDC stitches evenly around the armhole.
- Join the round with a slip stitch and chain 1 at the beginning of each round.
-
Continue for Sleeve Length:
- Repeat the HDC rounds until the sleeve reaches about 5–6 inches in length.
- You can add a ribbed cuff by working the front post and back post double crochet (FPDC and BPDC) for the last few rows.
-
Repeat for the Second Sleeve:
- Follow the same steps for the second sleeve.
Step 3: Crochet the Hood
The hood is made separately and attached to the neckline of the hoodie.
Instructions:
-
Attach Yarn at the Neckline:
- Find the center point at the back of the neckline and join the yarn with a slip stitch.
-
Crochet the Hood:
- Work HDC stitches evenly along the neckline.
- Continue working rows until the hood reaches 8 inches in height.
-
Shape the Hood:
- Fold the hood in half and use a slip stitch or whipstitch to sew the top closed.
Step 4: Finishing Touches
-
Add a Front Edging (Optional):
- Work a round of single crochet (SC) or slip stitches around the front edges of the hoodie to create a clean finish.
- If you want a buttoned hoodie, create buttonholes by chaining and skipping stitches where you plan to sew buttons.
-
Weave in Loose Ends:
- Use a tapestry needle to neatly tuck in any excess yarn.
-
Blocking (Optional):
- Lightly steam or wet block your hoodie to even out stitches and improve its shape.
Customisation Ideas
Want to make your crochet hoodie even more special? Try these variations:
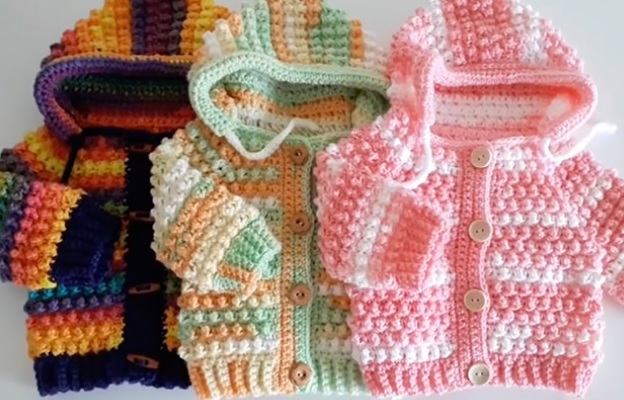
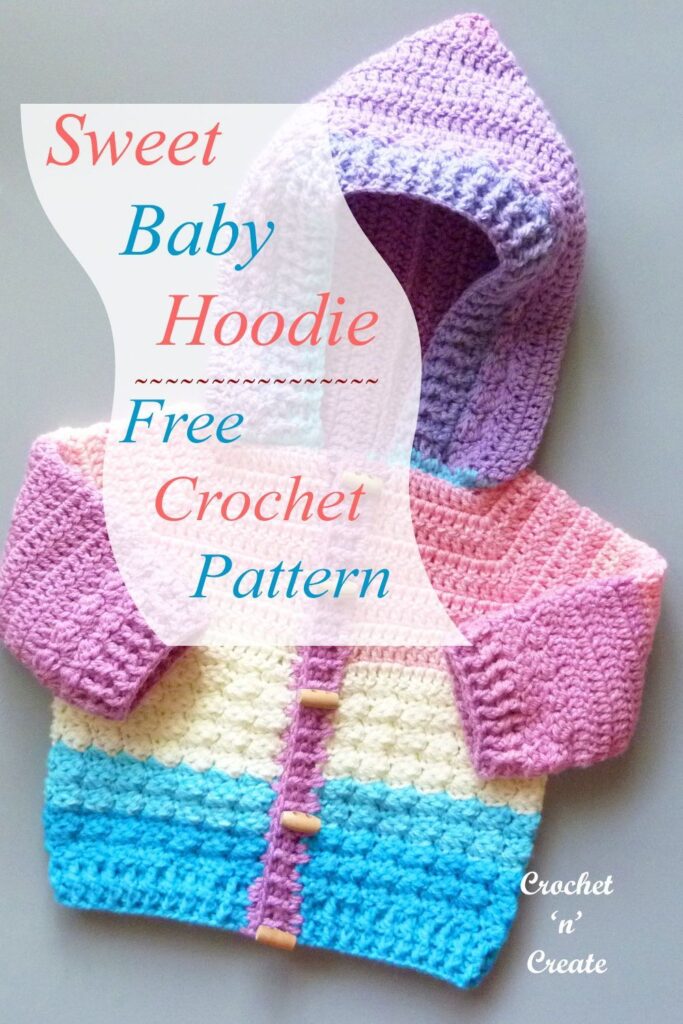
- Color Blocking: Use two or more colors for a stylish look.
- Striped Design: Alternate yarn colors every few rows.
- Bear Ears on the Hood: Add small, round ear shapes for a cute animal-themed hoodie.
- Pockets: Crochet small rectangles and attach them to the front for extra detail.
- Embroidery: Personalise with the baby’s initials or a simple motif.

Size Adjustments
If you want to make a larger hoodie, here’s how:
- Increase the foundation chain to widen the hoodie.
- Add more rows to the body panel for length.
- Make the sleeves longer by adding more rounds.
- Extend the hood height for a better fit.

Washing and Care Tips
Since this is a baby garment, proper care is essential:
- Use baby-safe yarn that is machine washable.
- Handwash or use a gentle cycle to keep the stitches intact.
- Avoid harsh detergents that may irritate a baby’s skin.
- Lay flat to dry to prevent stretching.
Video Tutorial:
Tutorial and photos of this baby hoodie by: Simona Crochet
Final Thoughts
A crochet baby hoodie is a perfect handmade gift that is both practical and sentimental. Whether you are making it for a baby shower, a birthday, or just to show love, this hoodie is a project worth the effort. With simple stitches and easy assembly, even beginners can complete this adorable garment with confidence.
Would you like any modifications to the pattern, such as a different size, stitch pattern, or hood shape? Let me know, and I’d be happy to assist!

