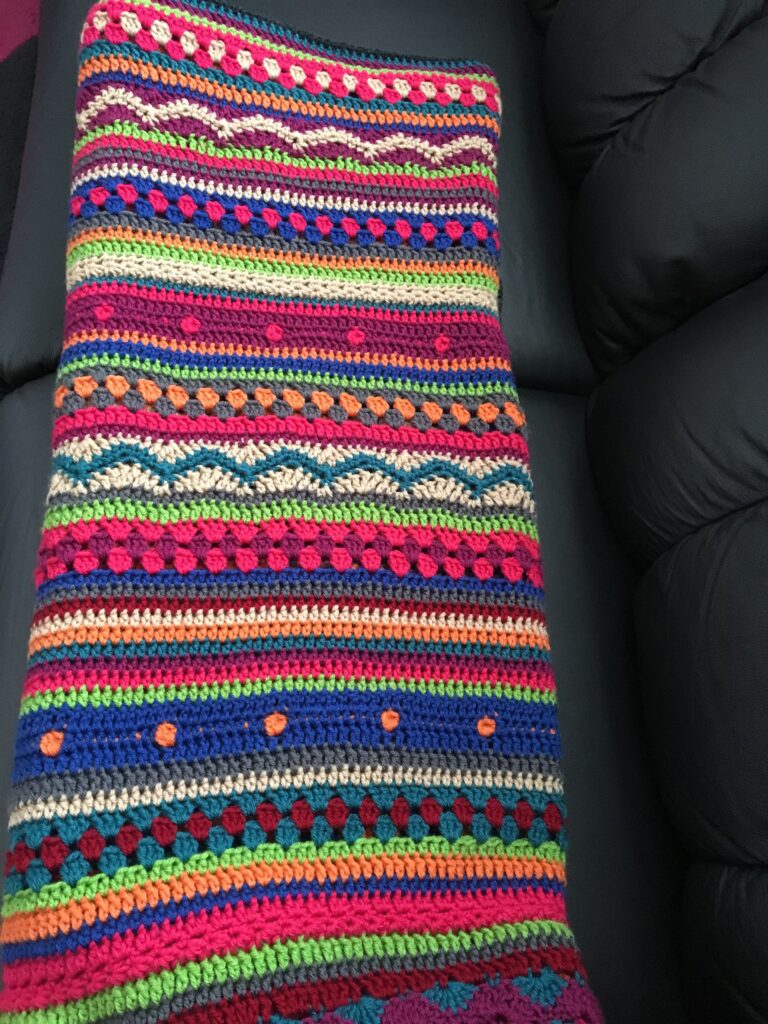
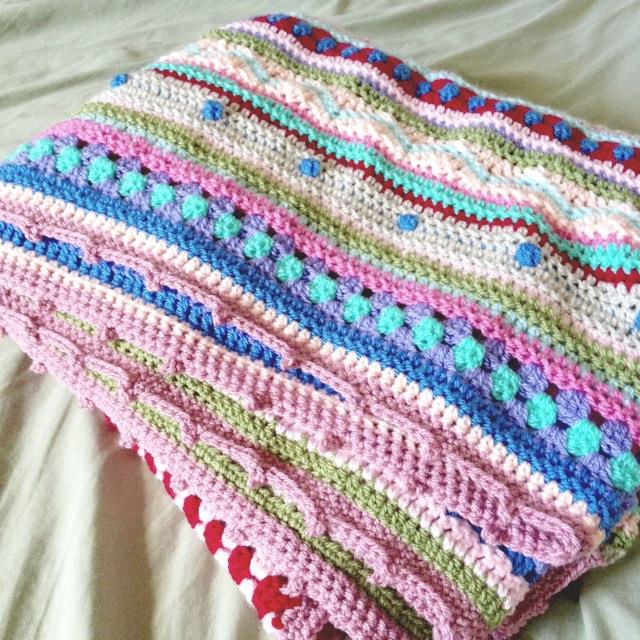
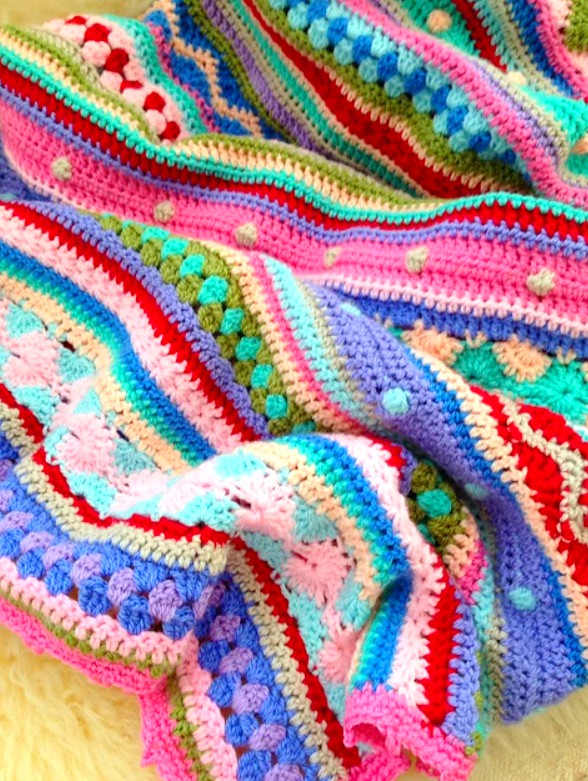
The “As-We-Go Stripey Blanket” is a popular crochet pattern known for its simple yet beautiful design. It’s a colorful, striped blanket that can be crocheted as you go, meaning you add the stripes as you work, which makes it a great project for beginners or anyone looking to make a cozy, colorful throw.
The key feature of the blanket is its versatility—you can use any color combination you like, making it a great stash-busting project if you have leftover yarn from other projects. It typically uses basic crochet stitches, like single crochet or double crochet, and works up quickly.
Materials Needed:
- Yarn: Choose your yarn (worsted weight is popular) in various colors. You can use a single color or multiple colors for the stripes, depending on your style. This project is perfect for stash-busting if you have leftover yarn!
- Crochet Hook: Typically, you’ll need a hook that suits the yarn weight you’re using (for worsted weight yarn, a 5mm (H-8) hook works well).
- Scissors: For cutting yarn.
- Tapestry Needle: For weaving in ends.
- Stitch Marker: To mark the beginning of your rows, if needed.

Abbreviations:
- ch = chain
- sc = single crochet
- dc = double crochet
- sl st = slip stitch
- sp = space
Basic Crochet Stitches Used:
- Single Crochet (sc): Insert the hook into the stitch, yarn over, pull up a loop, yarn over again, and pull through both loops on the hook.
- Double Crochet (dc): Yarn over, insert the hook into the stitch, yarn over again, pull up a loop, yarn over again, and pull through the first two loops. Yarn over and pull through the last two loops.

Instructions:
Step 1: Create the Foundation Chain
The number of stitches you chain will determine the width of your blanket. You’ll want to chain in a multiple that corresponds to your stitch pattern.
- For example, if you’re using a single crochet, chain a multiple of 2 plus 1 to reach the desired width. If you’re using double crochet, a multiple of 3 plus 2 is typical.
- Start by making a foundation chain of around 130-150 stitches (depending on the size you want), and then proceed to the next step.
Step 2: Establish the First Row
-
First Row of Stitches:
- Turn your chain around and start the first row of your blanket using your first color.
- For a single crochet blanket, work 1 sc into each chain across.
- For a double crochet blanket, work 1 dc into each chain across.
-
End of Row:
- Once you reach the end of the row, make sure to turn your work so that you can start the next row.
Step 3: Start the Stripes
-
Switching Colors:
- To create the stripey effect, change colors as you go. You’ll need to make a color change at the end of each row (or in the middle if you prefer a multi-colored effect within a row).
- When you finish your row in the first color, drop that color and leave a small tail. Yarn over with your second color and start the new row as you did before.
Tip: To change colors, you can do so during the last step of your stitch. For instance, when completing the final yarn over for a double crochet, use the new color instead of the previous color.
-
Working the Next Row:
- If you’re using single crochet, ch 1 at the end of the row and turn your workaround. Work 1 sc in each stitch across using the new color.
- If you’re using double crochet, ch 3 to begin the new row and work 1 dc in each stitch across using the new color.
- Repeat these steps for the desired length of your blanket, alternating colors for each row.
Step 4: Continue Crocheting and Changing Colors
-
Stripe Pattern:
- You can choose any stripe pattern, whether it’s alternating colors in every row or creating bands of different widths for each color.
- To create a fun, random look, pick colors at random or follow a color palette for a more structured design. You can even make some stripes wider than others.
-
Working in Stripes:
- You can also experiment by incorporating different crochet techniques like granny squares or shell stitches into your stripe pattern, or even alternating between plain single crochet and double crochet rows for texture variation.
Tip: To keep things neat, make sure you’re not pulling too tightly or leaving too much slack between rows. This helps your stripes stay even.
Step 5: Finishing the Blanket
-
Border:
- Once you’ve reached your desired size and have completed your last stripe, you’ll need to add a border to give the blanket a polished look. For a simple border:
- Work sc or DC around the blanket.
- For a more decorative border, you can add scallops, picots, or even a shell stitch design along the edges.
- Once you’ve reached your desired size and have completed your last stripe, you’ll need to add a border to give the blanket a polished look. For a simple border:
-
Weaving in Ends:
- When you’ve finished the blanket, there will be loose ends from the color changes. Use a tapestry needle to weave in all the ends, working them into the stitches to secure them and hide them in the fabric.
-
Blocking (Optional):
- You may want to block your blanket to help it lay flat and smooth. Gently wash and pin the blanket into place to dry, making sure the edges are even and the stitches are well-defined.

Tips for Success:
- Consistent Tension: Make sure your tension is even, as uneven tension can lead to a misshapen blanket. If you’re unsure, try practicing on a swatch before starting.
- Color Choices: Don’t be afraid to experiment with different color schemes. You can go for a rainbow effect, complementary colors, or even a gradient for a more subtle look.
- Yarn Choices: Use soft yarns like acrylic, cotton, or a blend to make sure the blanket is comfortable and easy to care for.
- Size Adjustments: This pattern is highly customizable. You can easily adjust the size of your blanket by adding or removing stitches from the foundation chain or continuing until it’s the size you want.
PDF Pattern: as-we-go-stripey-blanket-pattern-with-step-by-step-photos
Conclusion:
The As-We-Go Stripey Blanket is an easy and satisfying crochet project that can be personalized with your choice of colors and stitches. It’s great for relaxing crochet sessions, as you get to see the stripes build up row by row. With a little creativity and patience, you can create a beautiful, cozy blanket that adds a pop of color to any room. Whether you’re making a small throw or a large bedspread, this pattern is a fun and rewarding project to tackle!
If you’d like any specific guidance on color schemes, stitch patterns, or sizing, feel free to ask!


