A long-form, step-by-step crochet pattern
💡 Overview
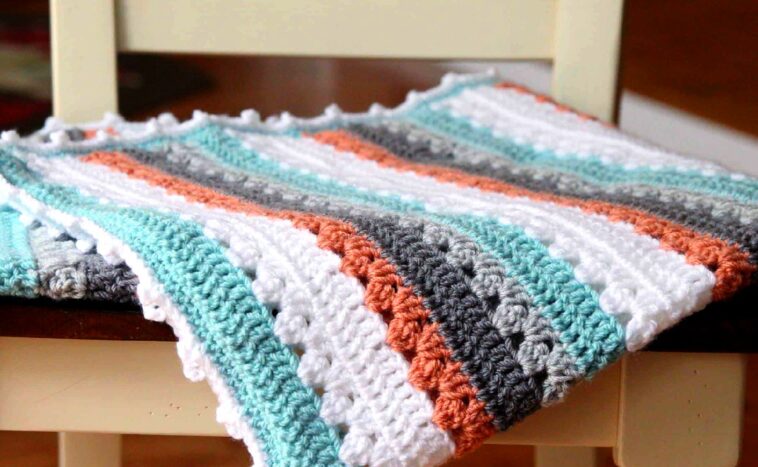
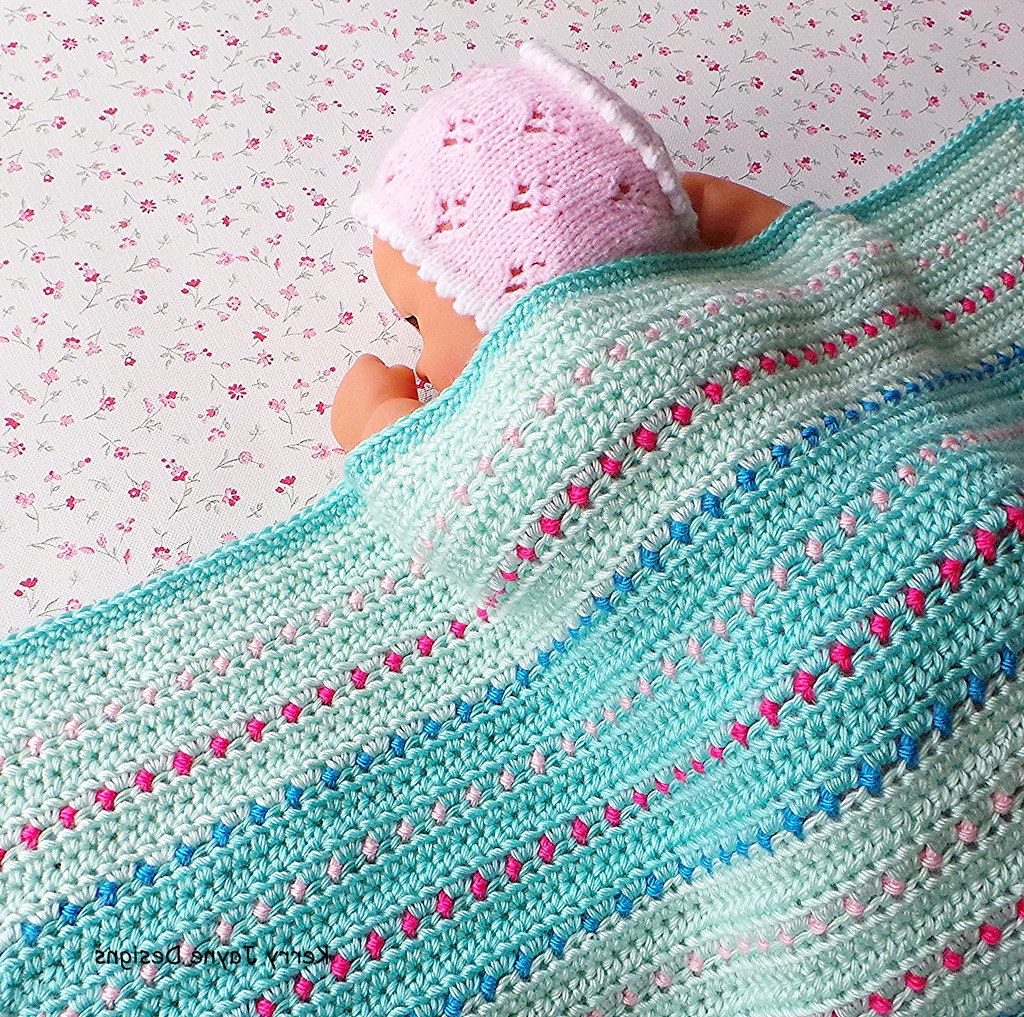
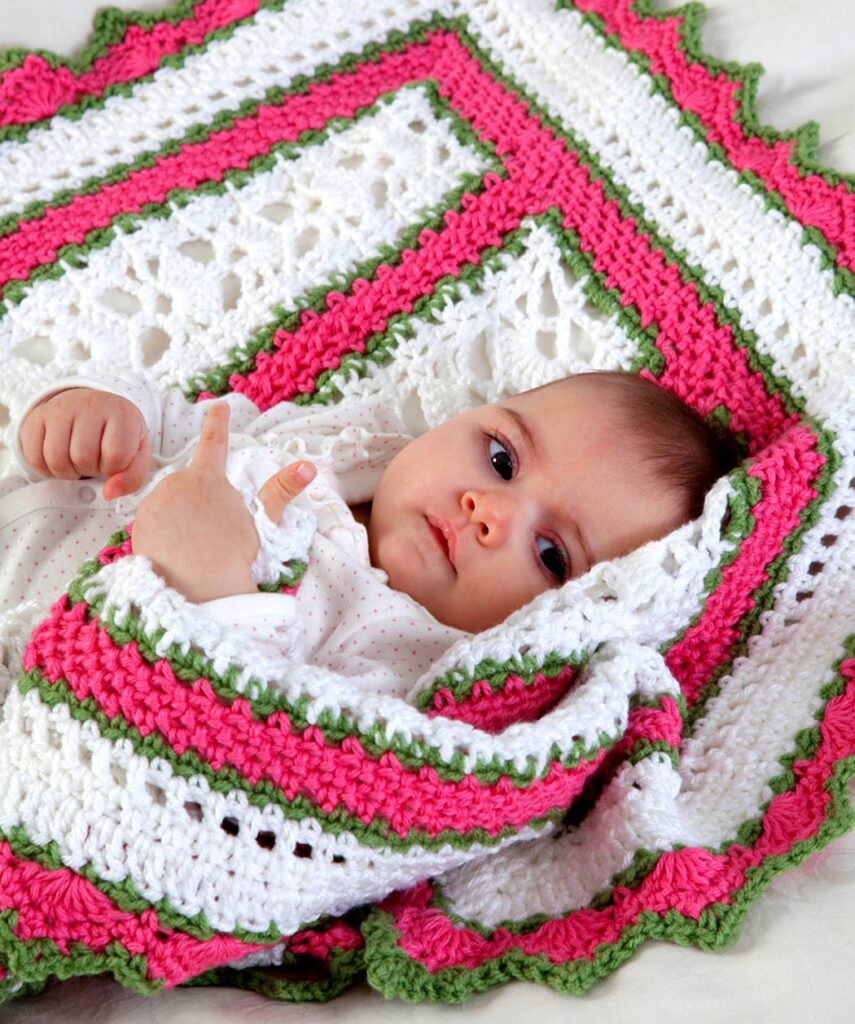
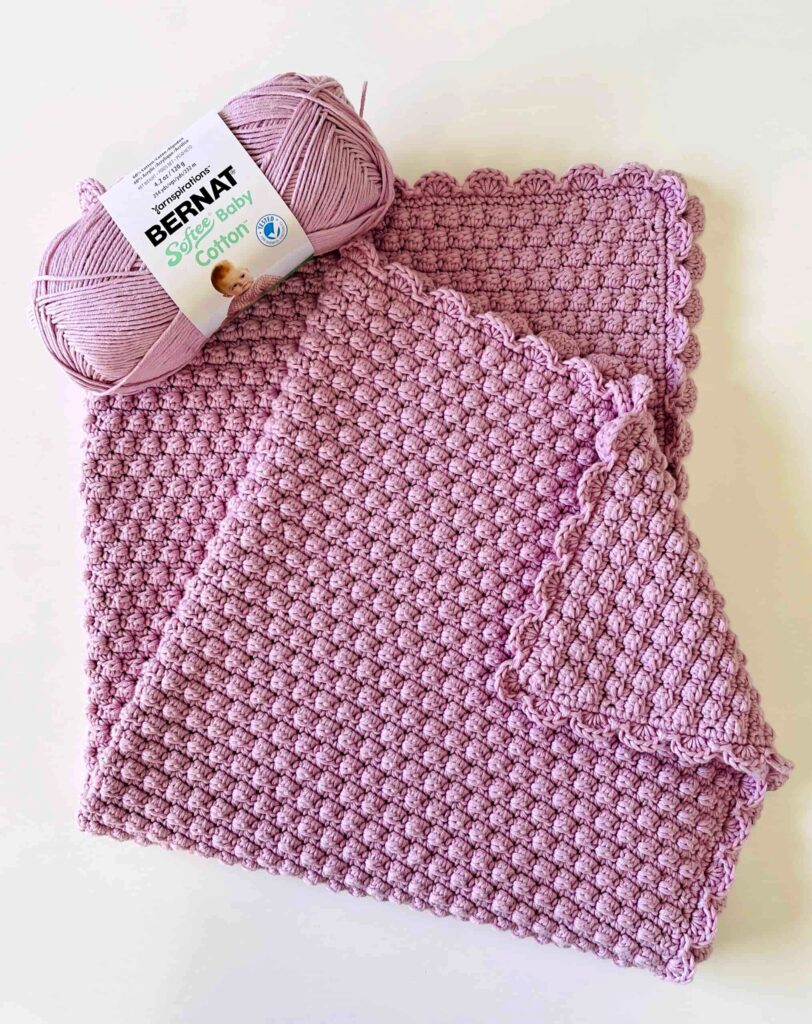
This baby blanket combines delicate texture with a vintage lace border to create a beautiful, timeless heirloom piece. The main body of the blanket is crocheted using a soft, slightly raised stitch pattern, surrounded by a firm border, and then finished with a beautifully scalloped lace edge that gives it a soft and frilly finish.
✨ Pattern Details
-
Skill Level: Confident Beginner / Intermediate
-
Finished Size: Approximately 36” x 36” (can be customized)
-
Yarn: Soft baby yarn or light worsted weight yarn (approx. 1000–1200 yards)
-
Hook Size: 4.5 mm (US 7)
-
Gauge: Not critical. Adjust the hook size for the desired drape.
-
Other Tools: Scissors, yarn needle, stitch markers (optional)
🔁 Stitch Guide (US Terminology)
-
ch – chain
-
sc – single crochet
-
dc – double crochet
-
tr – treble crochet
-
sl st – slip stitch
-
shell – (2 dc, ch 1, 2 dc) in same stitch
-
V-stitch – (dc, ch 1, dc) in same stitch
-
picot – ch 3, slip stitch in the first ch
🧵 Part 1: Blanket Body (Textured Stitch Pattern)
We will begin with a beautiful, raised shell-like texture that gives a subtle, elegant pattern without being too open.
🪡 Foundation Row:
-
Chain a multiple of 4 + 3. For a 30” square baby blanket, ch 139.
(You can adjust this based on your desired size.)
🧵 Row 1: Set-up Row
-
Dc in 4th ch from hook (counts as first dc + 1 dc).
-
Skip 1 ch, sc in next ch, ch 2, skip 1 ch, dc in each of next 2 chs.
-
Repeat from * across the row.
-
Turn your work.
🧵 Row 2: Begin Pattern Repeat
-
Ch 3 (counts as dc), dc in next dc.
-
Sc in next ch-2 space, ch 2, dc in next 2 dc.
-
Repeat from * across.
-
Turn.
🔁 Repeat Row 2 until your blanket measures approximately 30″ (or your preferred length).
Tip: Count your rows occasionally to keep them even. You may want to add a stitch marker to the first and last stitch of each row to keep edges straight.
🪡 Part 2: Foundation Border (Straight Edge)
Before we begin the lacy border, we’ll add a simple, clean border around the blanket to frame the center section.
🧵 Border Round 1:
-
Working along the top row: sc in each stitch across.
-
At the corner: 3 sc in the same stitch (this keeps your corner flat).
-
Along the side: sc evenly down the row ends (approx. 1 sc per row).
-
Repeat around all four sides of the blanket.
-
Join with a sl st to the first sc.
🧵 Border Rounds 2–4 (Optional for Thickness):
Repeat another 2 or 3 rounds of sc evenly around, placing 3 sc in each corner stitch. This gives your lacy edge a solid foundation.
🌸 Part 3: Lacy Shell Edge (Frilly Border)
Now we begin the star of the show—the lacy scalloped edge. This is done in several rounds for the rich layered effect you see in the image.
🧵 Round 1: Base for Lace
-
Ch 3, skip 2 stitches, shell (2 dc, ch 1, 2 dc) in next stitch, skip 2 stitches.
-
Repeat from * around the blanket.
-
Adjust spacing as needed to end evenly.
-
Join with a sl st to the top of the beginning ch-3.
🧵 Round 2: Build-Up Shell
-
Sl st into the center of the first shell.
-
Ch 3 (counts as dc), dc, ch 1, 2 dc in same ch-1 space of shell below.
-
Repeat in each shell center.
-
Join with SL St.
🧵 Round 3: Large Scallop Fan
-
Sl st into next 2 dc and ch-1 space.
-
(3 tr, ch 3, 3 tr) In the ch-1 space of each shell.
-
Repeat around. This will form large ruffled shells.
-
Join with SL St.
Optional: Round 4 (Picot Detail)
To add even more detail, you can add a picot to the peak of each shell.
-
(1 sc, picot, 1 sc) In the ch-3 space of each fan.
-
This adds a delicate touch to the final edge.
✂️ Finishing
-
Fasten off your yarn and weave in all ends securely with a tapestry needle.
-
Lightly steam or block your blanket to help the lacy edges open up and lay flat (especially the scallops).
🧺 Care Tips
-
This blanket is perfect for gifting. Use machine-washable baby yarn for convenience.
-
Hand wash in cold water and lay flat to dry for best longevity, especially with lacy details.
🧶 1. Easy Beginner Crochet Baby Blanket Tutorial
This tutorial is perfect for beginners, offering clear, step-by-step instructions to create a soft and cozy baby blanket. By Leelee Knits channel
🌸 2. Snowdrop Stitch Baby Blanket
Learn how to crochet a charming baby blanket using the snowdrop stitch, which adds a delicate texture to your project. By Crochet for Baby channel
🧵 3. Quick & Easy One Skein Baby Blanket
This tutorial demonstrates how to make a baby blanket using just one skein of yarn, making it a quick and economical project. By Creative Grandma channel
🧸 4. Super Easy Lovey Dovey Baby Blanket
Follow along with this one-row repeat pattern to create a lovely and cuddly baby blanket, suitable for crocheters of all levels. By Creative Grandma channel
🧶 5. How to Crochet a Fast and Easy Blanket
Ideal for those looking to complete a project quickly, this tutorial shows how to crochet a simple yet beautiful baby blanket. By Bella Coco channel
Feel free to choose the tutorial that best matches your skill level and the style you’re aiming for. Happy crocheting! 🧵✨


